Repainting the Inside of a 1950s Cottage in Carlsbad: Plaster, Layers and Narrow Rooms
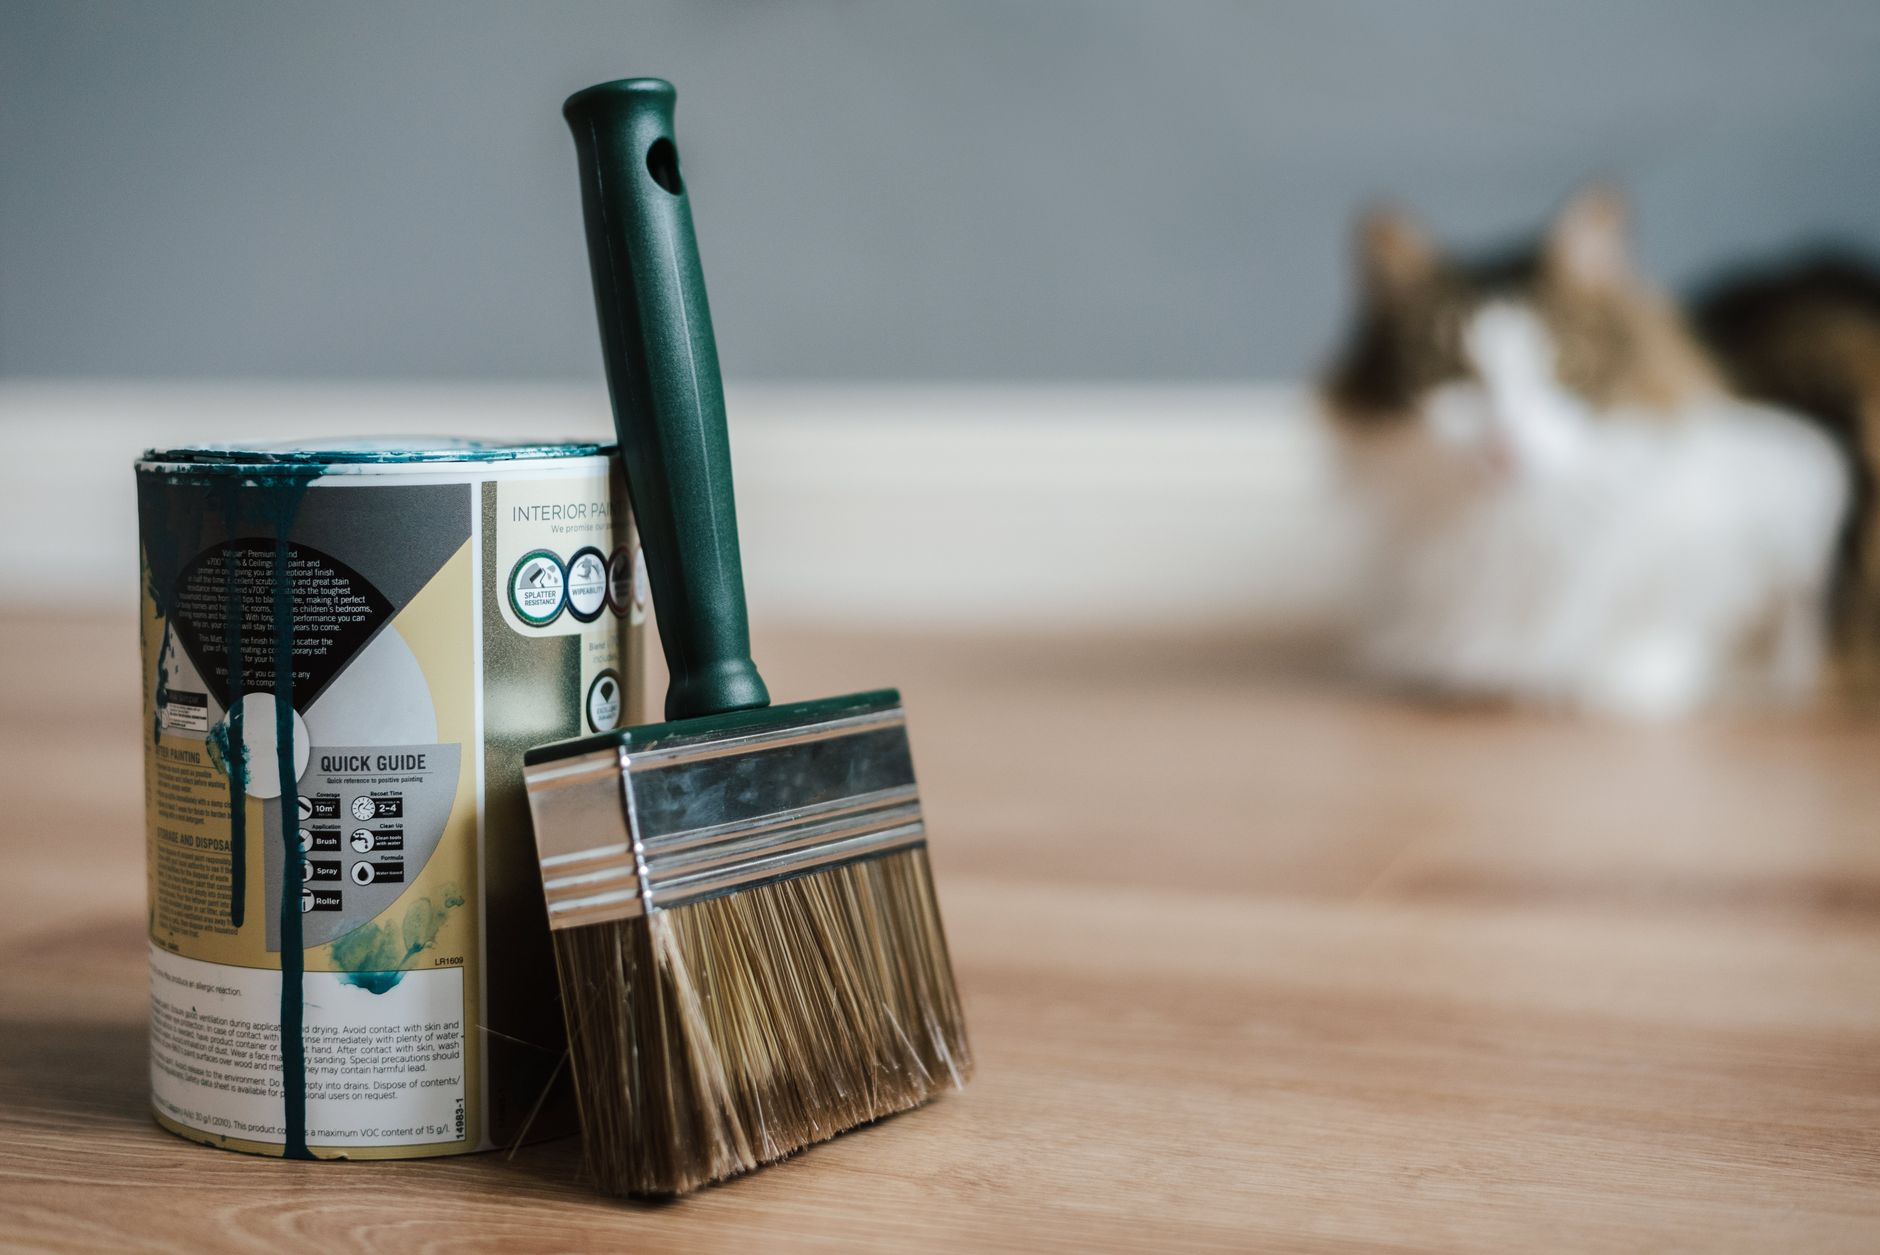
The inside of a 1950s cottage in Carlsbad has been painted more times than anyone remembers. Every owner added a coat, a few changed the colour, and some of the walls still carry a finish from before the house had central heating. A whole-house repaint of one of these homes is mostly a job of reading what is already on the walls and deciding how much of it can stay.
Cottages and bungalows cluster in the northwest part of the city, around Olde Carlsbad and the streets that run toward the Old Santa Fe Depot, which dates to 1907. The houses are small, the rooms open directly into each other, and the walls were built from materials that no longer match what a modern drywall house is made of. That changes the order of work, the products, and how long each room takes.
What is actually under the paint?
Before any colour is picked, the crew checks the wall surfaces room by room. A 1950s cottage rarely has one wall type throughout. Living areas may be plaster over lath, a back bedroom added in the sixties may be drywall, and the kitchen and bath may have been patched several times. Each one takes paint differently, and each one shows trouble in a different way.
| Surface | What shows up | What the crew does |
|---|---|---|
| Plaster over lath | Hairline cracks, hollow spots when tapped, small bulges near corners | Opens the cracks, fills them with a flexible compound, tapes the long ones, primes before the topcoat |
| Old drywall additions | Visible seams, nail pops, mismatched texture beside plaster | Sets the nails, skim coats the seams, matches the texture where it meets the older wall |
| Glossy old enamel on trim | Sheen that shines under a work light, chips at the edges | Scuff sands, cleans, applies a bonding primer, then a fresh enamel |
| Wallpaper remnants or glue | Raised edges, rough patches, staining | Washes off residue, seals with a stain blocking primer, sands smooth |
| Bathroom and kitchen walls | Chalky film, mildew spots, peeling near the ceiling | Cleans and treats the surface, primes, uses a washable finish |
Why plaster behaves differently
Plaster is harder and less forgiving than drywall. It takes patching compound well but dries slowly, and a patch that looks dry on the surface can still be damp underneath. If a crew rushes it, the primer goes over moisture and the finished wall shows a faint halo around the repair a few weeks later. A cottage with plaster walls gets patching early in the schedule so the compound has days to cure while other rooms are being done.
Cracks in plaster often come from the house moving slightly over the decades, and many of them are old and stable. A hairline crack that has not opened since the last repaint can be filled and painted. A crack that is wide at one end, or that runs from a window corner across the ceiling, gets looked at more carefully, because it may reopen if the filler is rigid. Flexible compounds and a strip of tape over the long ones handle most of them.
Layers of old paint and what they hide
Cottages from this era often have a coat of oil based paint somewhere in the stack, usually on trim, doors and kitchen walls. Latex does not grip a hard, glossy oil layer without help, so the surface is cleaned, scuff sanded and primed before the new coat goes on. Skipping that step is the usual reason a repaint looks fine for a few months and then peels in sheets at the door edges and window casings.
Older paint layers can also be very thick on window and door trim. After enough coats the crisp profile of the original casing rounds over, and the sashes stick. Where the build-up is heavy, the crew scrapes back to a sound edge and feathers it with sanding so the new coat does not telegraph a ridge. This takes time on a cottage, because there is a lot of trim in a small space.
Narrow rooms and how they affect the schedule
Small rooms hold up the work in ways that are easy to underestimate. A hallway three feet wide leaves no space for ladders and drop cloths at the same time. A bedroom with built-in shelves needs masking around every edge. Two painters in a room with a single window can block each other, and the lighting is often poor enough that a work lamp is needed to catch roller marks.
The cut in work also increases. A cottage has more corners, more casings and more small walls per square foot than a newer house, and each of those edges is brushed before the roller touches the wall. The roller itself is a smaller one, with a short nap, because a wide roller catches the ceiling or the trim before it finishes a stroke.
Choosing sheen for a small, dim house
Cottage rooms often get less daylight than a newer house, especially in the northwest part of Carlsbad where the morning marine layer keeps the light cool and flat. Sheen has to be chosen with that in mind. A flat finish hides plaster waves and patch edges but marks easily. An eggshell wipes cleaner and gives a little glow to a dim room, while a satin on trim catches light and shows every sanding mark if the prep was rushed.
Ceilings in these houses are usually painted flat, which hides the wave in older plaster ceilings. Kitchens and bathrooms move one step up in sheen, to eggshell or satin, because steam and cooking residue wash off a firmer finish. The doors and casings take semi gloss, which is also the finish most likely to reveal flaws, so they get the most careful prep in the house.
A room order that suits a cottage
In a cottage the usual room order starts with the spaces that take the longest to cure and dry. Plaster patching and priming go first in every room, then ceilings, then walls. Bedrooms are finished before the main living area so the household has a place to sleep and a place to sit through the work. Kitchen and bath come after the patching has fully cured, since those rooms need a stain block and a washable finish.
Trim and doors are left for last in each room. By then the dust from sanding has settled, the walls are dry, and tape lines are easy to place. A separate day is held for second coats on trim, because enamel dries slowly in the cool, damp air that sits over the coast in the early part of most summers.
Colour flow in an open cottage plan
Because cottage rooms open into each other, a repaint is planned as one flow instead of room by room. The living room, hall and dining space can be seen from each other, so abrupt changes at a doorway look jarring. A common approach uses one wall colour through the main rooms, with a different shade in the bedrooms and a firmer colour in the kitchen. White or near-white trim holds the scheme together and brings out the narrow casings that are typical of the era.
Samples are painted on the walls themselves, in two places per room, and left for a full day. The early light off the Pacific and the afternoon glare through west-facing windows give very different results, and a cottage with a small number of windows can swing from warm to grey within hours. Colours with a heavy grey or green undertone tend to go flat in the marine fog, so the choice usually leans toward warmer neutrals.
Details that finish the job
The last day on a cottage is a day of small things. Switch plates and vent covers go back on, closet doors are rehung, and the door hardware is reset. Touch-ups are made in daylight, since a work lamp hides thin coverage that sunlight exposes. The crew checks the paint around the window sashes and confirms that each one still opens and closes, because built-up trim paint is the most common cause of stuck windows after a repaint.
A cottage that has been repainted well should show clean lines at every edge, a consistent sheen from room to room and no visible patches in raking light. The work takes longer per square foot than a newer house, and most of the extra time is spent on the surfaces nobody sees once the paint is on.